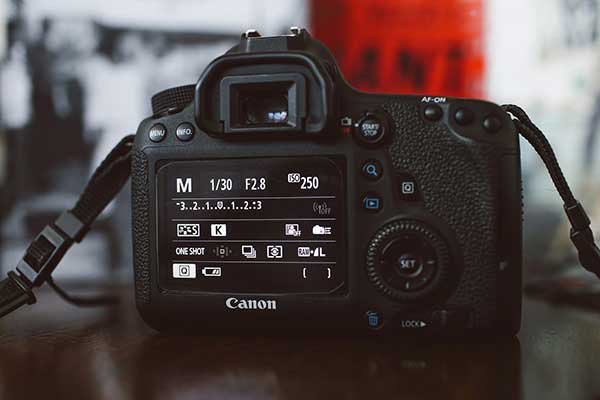
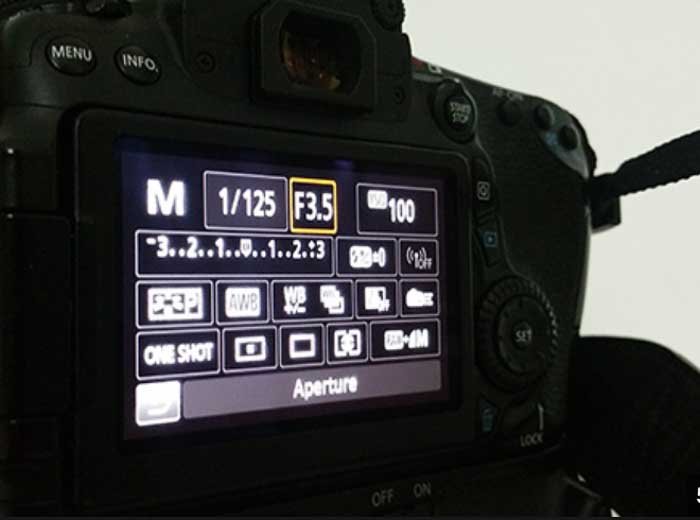
Low-light digital photography presents unique challenges, such as grainy images, motion blur, or underexposed shots. However, by adjusting the right camera settings, you can capture clear and beautiful photos even in dark environments. With the right approach, shooting in low light can add depth and mood to your images.

Adjusting Your ISO for Low Light
One of the most crucial settings to master in low-light digital photography is the ISO. The ISO controls your camera’s sensitivity to light, and in low-light situations, increasing it can help capture more details.
Increase ISO with Caution
In low light, raising your ISO (usually between 800 and 3200 or higher) allows your camera to absorb more light, resulting in a brighter image. However, as you increase the ISO, your image may become grainy or noisy. To avoid this, find the highest ISO setting your camera can handle while still maintaining image quality. Test a few shots to determine what works best.
Consider Noise Reduction
If your photos are too grainy after increasing the ISO, try using your camera’s built-in noise reduction feature. Alternatively, you can use photo-editing software like Lightroom or Photoshop to reduce noise in post-processing.
Choosing the Right Aperture
The aperture, or f-stop, controls how much light enters your camera through the lens. In low-light conditions, you’ll want to use a wider aperture (lower f-stop number) to let in as much light as possible.
Use a Wide Aperture
Set your camera’s aperture to a low f-stop, such as f/1.8 or f/2.8, to maximize the amount of light hitting your camera’s sensor. This is especially useful for portraits or subject-focused shots because a wide aperture also creates a shallow depth of field, which beautifully blurs the background.
Balance Aperture and Depth of Field
While a wide aperture helps with low light, it reduces the depth of field, meaning only a small portion of your image will be in sharp focus. Be mindful of this when shooting group photos or landscapes. In those cases, you might need to slightly close the aperture to f/4 or higher to get more of the scene in focus.
Shutter Speed: Finding the Right Balance
Shutter speed refers to how long the camera’s sensor is exposed to light. In low-light digital photography, a slower shutter speed allows more light to reach the sensor, but it also increases the risk of motion blur.
Slow Shutter Speed for Stationary Subjects
For subjects that aren’t moving, you can use a slower shutter speed, such as 1/30 or even 1/10 of a second. This will let in more light and brighten the image. However, keep in mind that slower shutter speeds make your camera more sensitive to movement, so it’s important to use a tripod or rest your camera on a stable surface to avoid camera shake.
Faster Shutter Speed for Action Shots
If you’re shooting moving subjects, like people or animals, you’ll need a faster shutter speed, even in low light. A setting of 1/100 or faster helps freeze the action, but it also reduces the amount of light that hits the sensor. To compensate, you may need to increase your ISO or widen the aperture.
Use Exposure Compensation for Fine Tuning
Exposure compensation allows you to adjust the exposure level without manually changing other settings. It’s particularly useful in low-light photography when you want to slightly brighten or darken your images.
Adjust Exposure for Brightness
If your photos are consistently too dark in low-light environments, you can use exposure compensation to add a bit more brightness. Many cameras allow you to increase exposure by one or two stops (+1 or +2), helping to bring out more details in shadows.
Avoid Overexposing
While it’s tempting to increase exposure compensation to brighten up your image, be careful not to overexpose. Overexposed photos lose detail in the highlights and can appear washed out, so use this setting sparingly and review your shots to ensure balance.
Focus on White Balance
In low-light conditions, white balance becomes even more important to avoid color casts in your images. Artificial lighting, such as street lights or indoor bulbs, can give your photos an orange or yellow hue.
Set White Balance Manually
Many digital cameras offer preset white balance options, such as “Tungsten” for indoor lighting or “Daylight” for natural light. However, in low-light digital photography, it’s often better to set the white balance manually. Adjust it to a cooler or warmer tone depending on the lighting to ensure natural-looking colors.
Conclusion
Mastering low-light digital photography involves fine-tuning several settings—ISO, aperture, shutter speed, and exposure compensation—to ensure you capture well-exposed, sharp images even in challenging lighting conditions. By increasing ISO cautiously, using a wide aperture, balancing shutter speed with subject movement, and adjusting white balance for color accuracy, you’ll be able to create stunning low-light photographs. With practice, you’ll gain confidence in navigating different lighting environments, and your low-light shots will truly shine.


