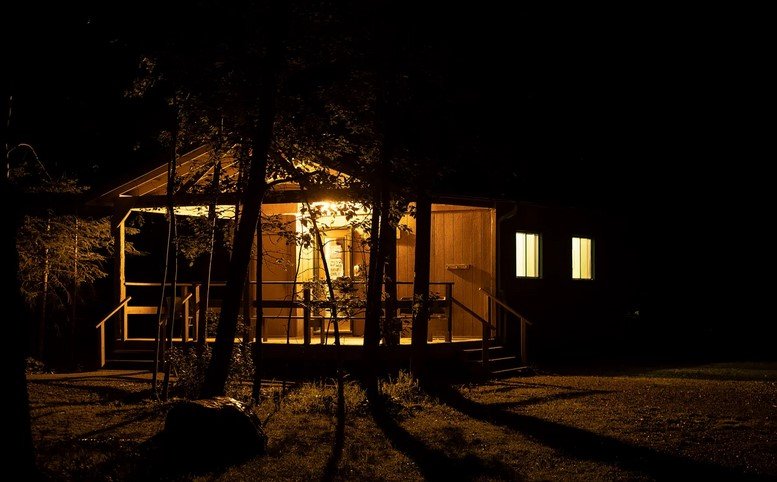
Mastering low-light photography can be a challenge, but with the right techniques, it’s possible to capture stunning images even in dim environments. Whether you’re shooting indoors or during the golden hour, understanding how to work with minimal light is essential for achieving clear, sharp, and visually appealing photos. Here are some practical low-light photography tips to help you improve your shots when the lighting is less than ideal.

Use a Wide Aperture for More Light
One of the most effective low-light photography tips is to use a wide aperture. The aperture refers to the opening in your lens that lets light into the camera. A larger aperture (represented by smaller f-stop numbers, like f/1.8 or f/2.8) allows more light to hit the sensor, which is crucial in darker settings.
A wide aperture not only brightens your image but also helps create a beautiful, soft background blur, which can make your subject stand out. For low-light situations, switching to a lens with a wide maximum aperture can make a significant difference in your photo quality.
Slow Down Your Shutter Speed
Slowing down the shutter speed is another key to capturing more light in dim conditions. The longer your shutter remains open, the more light your camera collects. However, be cautious when using slower shutter speeds, as this increases the chances of motion blur, especially if your hands aren’t steady or your subject is moving.
To counteract blur, consider using a tripod to keep your camera stable. A shutter speed of 1/60 or slower can work wonders for capturing well-exposed images in low light, but make sure to experiment with different speeds to find the right balance for your shot.
Increase Your ISO
If widening the aperture and slowing the shutter speed aren’t enough, increasing your camera’s ISO setting is another useful low-light photography tip. ISO measures your camera’s sensitivity to light. A higher ISO setting (e.g., ISO 1600 or 3200) makes your sensor more sensitive to light, allowing you to shoot in darker environments without underexposing your image.
However, keep in mind that raising the ISO can also introduce digital noise or grain to your photos, so it’s important to strike a balance. Modern cameras perform well at higher ISOs, but if you notice too much noise, you can use photo editing software to reduce it.
Use Artificial Light When Necessary
While natural light is often preferred in photography, sometimes you need to introduce artificial light to enhance your shots. In low-light scenarios, using a small external flash, a portable LED light, or even the flashlight on your phone can help illuminate your subject.
Be mindful of how you position the light source, though. Direct flash can cause harsh shadows and flat images, so bouncing the light off a nearby surface or using a diffuser can help create softer, more even lighting.
Shoot in RAW for Better Editing Flexibility
One of the best low-light photography tips for maintaining image quality is to shoot in RAW format. RAW files retain all the data captured by your camera’s sensor, providing more flexibility in post-processing. When shooting in low light, your photos might come out slightly underexposed or with noise, but RAW files allow you to adjust the exposure, brightness, and shadows without losing too much detail.
While RAW files take up more storage space, they offer you more control over your final image, making them ideal for tricky lighting situations.
Use Image Stabilization
If your camera or lens has image stabilization, make sure to turn it on when shooting in night photography tips. Image stabilization helps reduce camera shake, which is especially important when you’re using slower shutter speeds. While it won’t eliminate all motion blur, it can significantly improve the sharpness of your photos in low-light conditions.
This feature is particularly useful if you’re shooting handheld and don’t have access to a tripod, making it one of the most practical low-light photography tips for sharper images.
Experiment with Exposure Compensation
Sometimes, even after adjusting your aperture, shutter speed, and ISO, your images may still appear too dark. This is where exposure compensation comes into play. Many cameras have an exposure compensation feature that allows you to make the image brighter or darker without changing your other settings.
By increasing the exposure compensation by +1 or +2, you can brighten your image, making it easier to capture the details in low-light environments.
Conclusion
Mastering low-light photography requires patience, experimentation, and the right combination of techniques. By using a wide aperture, slowing down your shutter speed, increasing the ISO, and employing artificial light when necessary, you can capture clear and captivating images in even the most challenging lighting conditions. With these low-light photography tips, you’ll be well-equipped to take your nighttime or indoor photos to the next level.


